Dreamy Room Level 486
Level 486 guide walkthrough, helping players solve puzzles and explore the wonderful world of Dreamy Room.

Dreamy Room Level 486 Walkthrough Guide
Dreamy Room Level 486 Room Story
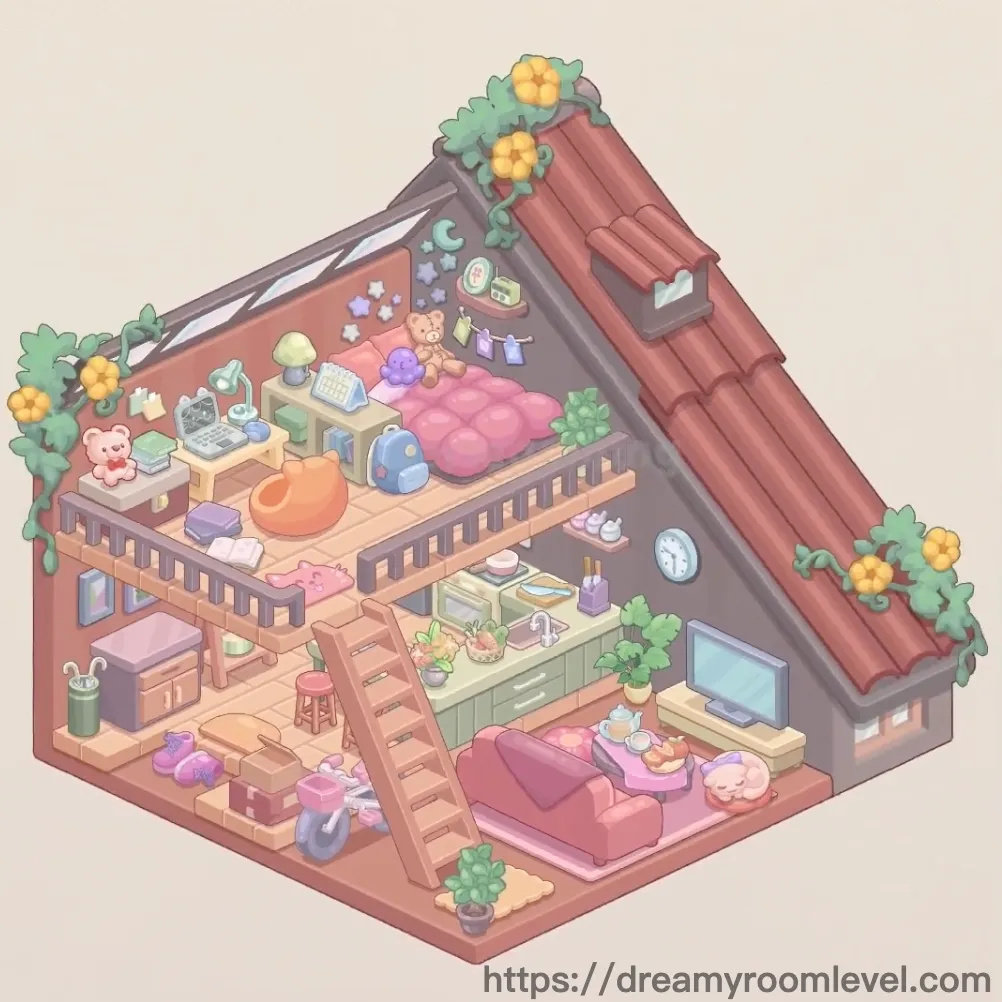
Step into a whimsical inventor's sanctuary in Dreamy Room Level 486, where Victorian charm meets steampunk wonder. This cozy two-story study belongs to a curious scholar who spends evenings by the warm glow of the steam boiler, surrounded by maps, globes, and treasured books. The gentle hiss of steam and ticking of brass gears create a symphony of creativity, while the round stained glass window casts colorful patterns across worn pages of adventure tales.
Dreamy Room Level 486: Step-by-Step Placement Guide
Step 1. Install the Steam Boiler in Dreamy Room Level 486
Position the Steam Boiler in the left corner of the ground floor. This large blue industrial furnace is the centerpiece of this steampunk room.
Step 2. Add Boiler Components
Attach the Boiler Chimney to the top of the boiler extending through the roof. Add the Steam Cloud billowing from the chimney top.
Step 3. Place Boiler Clock and Pipes
Mount the Boiler Clock on the front of the steam boiler. Connect the Boiler Pipes on the sides of the boiler unit.
Step 4. Position Wooden Stairs in Dreamy Room Level 486
Place the Wooden Stairs on the right side of the room, connecting ground floor to the loft. Add the Stair Railing along the stairs.
Step 5. Install the Loft Platform and Railing
Position the Loft Platform as the upper floor base. Attach the Loft Railing along the platform edge for safety.
Step 6. Place the Bookshelf Against the Wall
Set the Bookshelf against the back wall beneath the loft platform. This tall wooden shelf anchors the study area in Dreamy Room Level 486.
Step 7. Fill the Bookshelf with Books
Add Books Row 1 on the top shelf. Place Books Row 2 on the middle shelf and Books Row 3 on the lower section.
Step 8. Add Shelf Decorations in Dreamy Room Level 486
Position the Tea Cup on Shelf between the books. Add the Small Plant on Shelf for a touch of greenery.
Step 9. Place the Pink Armchair
Position the Pink Armchair in front of the bookshelf, facing the study desk. This tufted velvet chair provides comfortable reading spot.
Step 10. Set Up the Study Desk
Place the Study Desk in the center-right area of the ground floor. Add the Desk Drawers as the lower storage unit in Dreamy Room Level 486.
Step 11. Add Globe and Desk Lamp
Position the Globe on the right side of the desk. Place the Desk Lamp for workspace illumination.
Step 12. Place Map and Candle on Desk
Spread the Open Map across the desk surface. Add the Candle Holder with lit candle for ambiance in Dreamy Room Level 486.
Step 13. Add Books Stack and Picture Frames
Stack the Books Stack on the desk corner. Position Picture Frame 1 and Picture Frame 2 on the desk and nearby shelf.
Step 14. Place Floor Plant Near Stairs
Position the Floor Plant in a pot near the base of the stairs. This leafy plant adds life to the study corner.
Step 15. Add Green Carpet at Entrance in Dreamy Room Level 486
Place the Green Carpet near the entrance area at the bottom of the stairs. This welcome mat defines the entry point.
Step 16. Position Trash Can and Floor Items
Set the Trash Can near the boiler area. Place the Open Book on Floor as if casually left during reading.
Step 17. Scatter Gear Decorations
Place Gear Decoration 1 on the floor near the boiler. Add Gear Decoration 2 and Gear Decoration 3 around the room for steampunk aesthetics in Dreamy Room Level 486.
Step 18. Install Wall Lamp on Lower Level
Mount the Wall Lamp Lower on the right wall near the stairs. This brass lamp illuminates the stairway area.
Step 19. Place the Green Bed on the Loft
Position the Green Bed against the back wall of the loft. This cozy bed with green blanket is the sleeping area in Dreamy Room Level 486.
Step 20. Add Pillows to the Bed
Place White Pillow 1 and White Pillow 2 at the head of the bed. These fluffy pillows complete the comfortable setup.
Step 21. Place Open Book on Bed
Add the Open Book on Bed lying on the green blanket. This shows a reader fell asleep mid-chapter in Dreamy Room Level 486.
Step 22. Install Bed Headboard and Bedside Table
Attach the Bed Headboard at the head of the bed. Place the Bedside Table beside the bed.
Step 23. Add Topiary Plant on Bedside Table
Position the Topiary Plant on the bedside table. This round trimmed plant adds elegance to the sleeping area.
Step 24. Mount Wall Gear Decoration in Dreamy Room Level 486
Attach the Wall Gear Decoration on the wall above the bedside table. This golden gear adds steampunk character to the loft.
Step 25. Add Books and Plant on Headboard Shelf
Place Books on Headboard on the shelf above the bed. Add the Plant on Headboard for greenery.
Step 26. Position Red Armchair on Loft
Place the Red Armchair on the right side of the loft near the railing. Add the Chair Cushion for extra comfort in Dreamy Room Level 486.
Step 27. Set Up Small Tea Table and Tea Set
Position the Small Tea Table in front of the red armchair. Add the Tea Set with teapot on the table.
Step 28. Place Pink Storage Box Under Loft
Position the Pink Storage Box beneath the loft platform edge. This provides additional storage space in Dreamy Room Level 486.
Step 29. Install Wall Lamp on Upper Level
Mount the Wall Lamp Upper on the exterior wall near the red armchair. This brass lamp provides warm evening light.
Step 30. Install Round Stained Glass Window
Place the Round Stained Glass Window in the triangular attic wall section. This ornate circular window with gear pattern is the crown jewel of Dreamy Room Level 486.
Step 31. Add Purple Rug to Complete the Room
Position the Purple Rug beneath the bed on the loft floor. This final touch completes the cozy steampunk sanctuary.
Tips and Tricks
Important Notes
- The steam boiler is the largest item and should be placed first to establish room layout and avoid placement conflicts.
- The loft railing has specific snap points along the platform edge, look for the highlight before releasing.
- Small gear decorations on the floor can be easily missed, check near the boiler and bookshelf areas.
- The stained glass window only fits in the triangular attic section, drag it toward the peak of the roof.
- Books on shelves may require precise horizontal alignment, drag slowly until they snap into position.
Useful Tips
- Start with structural elements like stairs, loft platform, and boiler before adding furniture and decorations.
- For Dreamy Room Level 486, work from ground floor up to keep the view unobstructed while placing items.
- The tea set on the small table has a specific angle, rotate slightly if it doesn't snap immediately.
- Wall lamps have fixed mounting points, drag along the wall surface until the glow indicator appears.
- Place larger furniture like the bed and armchairs before adding small items like books and plants on top of them.
- The steam cloud animation only appears after the chimney is correctly attached to the boiler.