Dreamy Room Level 79
Level 79 guide walkthrough, helping players solve puzzles and explore the wonderful world of Dreamy Room.

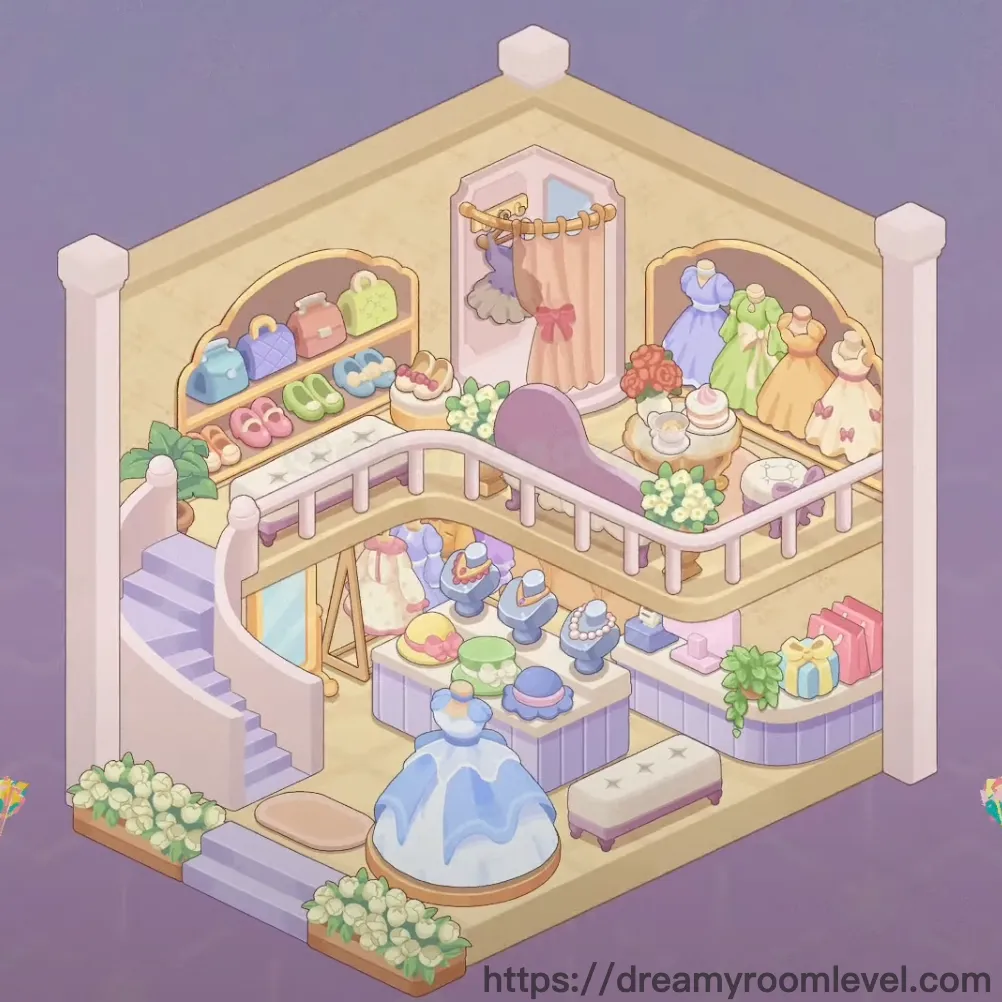
Dreamy Room Level 79 Walkthrough Guide
Dreamy Room Level 79 Room Story
In this enchanted Victorian garden room, a young artist finds her sanctuary. Surrounded by blooming roses and gentle bird companions, she creates her masterpieces beneath a graceful birdcage dome. The soft purple drapes filter twilight rays, while plush animals keep her company during long creative sessions. Every corner of Dreamy Room Level 79 whispers tales of dreams and inspiration.
Dreamy Room Level 79: Step-by-Step Placement Guide
Step 1. Place the Birdcage Dome Structure
Position the birdcage dome at the center-left of the upper platform. This iconic structure serves as the focal point for Dreamy Room Level 79, with its white metal frame and distinctive spherical top ornament creating an elegant canopy.
Step 2. Install White Sphere Ornament
Mount the white sphere ornament directly on top of the birdcage dome's apex. Align it perfectly with the central vertical bar to complete the dome's decorative crown in this Dreamy Room Level 79 challenge.
Step 3. Set Up Purple Drape and Curtain
Attach the purple drape and purple curtain around the birdcage dome structure. The flowing purple fabric should cascade gracefully from the dome's frame, creating a romantic canopy effect that defines Dreamy Room Level 79's Victorian aesthetic.
Step 4. Position Character Mannequin
Place the character mannequin with brown hair character inside the ornate frame structure on the right side. Position her facing forward, centered within the arched frame to showcase the room's artistic inhabitant.
Step 5. Install Ornate Frame Structure
Set up the ornate frame with metal frame decoration on the right side of the upper platform. This elegant white archway with scrollwork details frames the character perfectly in Dreamy Room Level 79.
Step 6. Arrange Rose Garland on Frame
Drape the flower garland along the top arch of the ornate frame. The mixed pink rose and purple rose arrangement should cascade naturally over the frame's curve.
Step 7. Place Pink Cushion Under Dome
Position the pink cushion directly beneath the birdcage dome on the checkered floor. This comfortable seating creates a cozy resting spot in the center of Dreamy Room Level 79's design.
Step 8. Add Display Shelf Behind Character
Mount the display shelf or wooden shelf on the wall behind the character mannequin. This multi-tiered storage unit provides space for decorative items in Dreamy Room Level 79.
Step 9. Position White Rabbit Plush
Place the white rabbit plush or white bunny on the lower shelf behind the character. This adorable companion adds whimsy to the scene according to Dreamy Room Level 79 requirements.
Step 10. Set Blue Bear Plush
Position the blue bear plush on the middle display shelf. This soft toy brings a playful touch to the organized storage area in this Dreamy Room Level 79 layout.
Step 11. Arrange Green Statue and Figurine
Place the green statue and green figurine on the lower front area. These decorative pieces in jade tones add artistic elegance to Dreamy Room Level 79's floor arrangement.
Step 12. Install Staircase with White Railing
Position the staircase with white railing and steps on the right side of the platform. This elegant curved stairway with ornate balusters provides access between levels following Dreamy Room Level 79 design principles.
Step 13. Add Balustrade Details
Install the balustrade sections along the staircase and platform edges. These decorative railings enhance the Victorian elegance throughout Dreamy Room Level 79.
Step 14. Place Black Crow and Bird
Position the black crow and black bird on the left railing and right perch areas. These mysterious companions add character to the garden atmosphere in Dreamy Room Level 79.
Step 15. Arrange Rose Vines
Attach rose vine decorations along the metal framework and railings. The climbing vines with rose blooms create a garden feel essential to Dreamy Room Level 79.
Step 16. Set Up Tea Set Display
Arrange the tea set with teacup and teapot on the small table surface. This charming tea service adds functionality to the cozy corner in Dreamy Room Level 79.
Step 17. Position Pink Table
Place the pink table in the left front area of the room. This pastel furniture piece provides a surface for tea time activities in this Dreamy Room Level 79 setting.
Step 18. Add Small Table
Set the small table near the seating area on the lower level. This compact surface offers additional display space according to Dreamy Room Level 79 layout requirements.
Step 19. Arrange Green, Purple, and Blue Chairs
Position the green chair, purple chair, and blue chair around the tables. These colorful seating options create inviting gathering spots in Dreamy Room Level 79.
Step 20. Place Ottoman Collection
Arrange the blue ottoman, purple ottoman, and green ottoman near the seating areas. These comfortable footrests complement the chairs perfectly in this Dreamy Room Level 79 design.
Step 21. Set Cloud Decorations
Attach cloud decoration and white cloud elements to the railings and framework. These whimsical touches add a dreamy quality to Dreamy Room Level 79's atmosphere.
Step 22. Arrange Candles Throughout
Place candle, white candle, and green candles on various surfaces and ledges. These lighting elements create ambiance throughout Dreamy Room Level 79.
Step 23. Position Lantern Decoration
Hang the lantern decoration from the framework or place on a shelf. This vintage-style light fixture enhances the Victorian theme in this Dreamy Room Level 79 challenge.
Step 24. Install Table Lamp
Place the table lamp on one of the table surfaces. This functional lighting provides illumination for reading and activities in Dreamy Room Level 79.
Step 25. Add Plant Pot and Flower Pot
Position the plant pot and flower pot on the lower level and shelves. These botanical containers bring life and greenery to Dreamy Room Level 79.
Step 26. Place Carpet and Floor Rug
Lay the carpet and floor rug on the lower level floor area. These soft textiles define the seating zone and add comfort to Dreamy Room Level 79.
Step 27. Add Vine Decorations
Attach vine decoration elements along the metalwork and frame edges. These trailing plants enhance the garden theme throughout Dreamy Room Level 79.
Step 28. Install Swirl Ornament and Scrollwork
Add swirl ornament and scrollwork details to the metal frames and railings. These decorative flourishes emphasize the Victorian elegance in this Dreamy Room Level 79 layout.
Step 29. Position Pink Furniture Pieces
Arrange remaining pink furniture elements in appropriate spaces. These pastel pieces maintain the soft color scheme throughout Dreamy Room Level 79.
Step 30. Add Lattice Decoration
Install lattice decoration with diamond pattern on the left side structure. This geometric detail adds texture and depth to Dreamy Room Level 79's design.
Step 31. Place Decorative Posts and Columns
Position decorative post and column elements to support the structure. These architectural features provide both function and elegance in this Dreamy Room Level 79 challenge.
Step 32. Add Pink Pillow Final Touch
Place the pink pillow on a chair or cushion for extra comfort. This soft accessory completes the cozy seating arrangements in Dreamy Room Level 79.
Tips and Tricks for Success
Common Mistakes to Avoid
- Don't overlook the small rose decorations scattered along the metalwork; they're easy to miss but essential for completing Dreamy Room Level 79
- Be careful not to block the staircase access when placing furniture on the lower level
- The cloud decorations have specific attachment points on the railings that require precise positioning
- Watch for overlapping placement zones between the ottoman collection and chairs; place ottomans first for easier arrangement
- The character mannequin must be centered in the ornate frame before adding surrounding decorations in Dreamy Room Level 79
Pro Placement Strategies
- Start with large structural elements like the birdcage dome and staircase to establish the room's framework in Dreamy Room Level 79
- Use the "snap-to" effect when positioning the purple drapes around the dome frame; they'll automatically align correctly
- Place the tea set items one by one rather than trying to position the complete set at once for better accuracy
- For the rose garland, drag slowly along the frame's curve to find the sweet spot where it naturally drapes
- Utilize the grid pattern on the floor as reference points for centering furniture pieces perfectly in this Dreamy Room Level 79 challenge
- When placing small candles and decorative items, zoom in slightly to ensure precise positioning without triggering the bounce-back effect