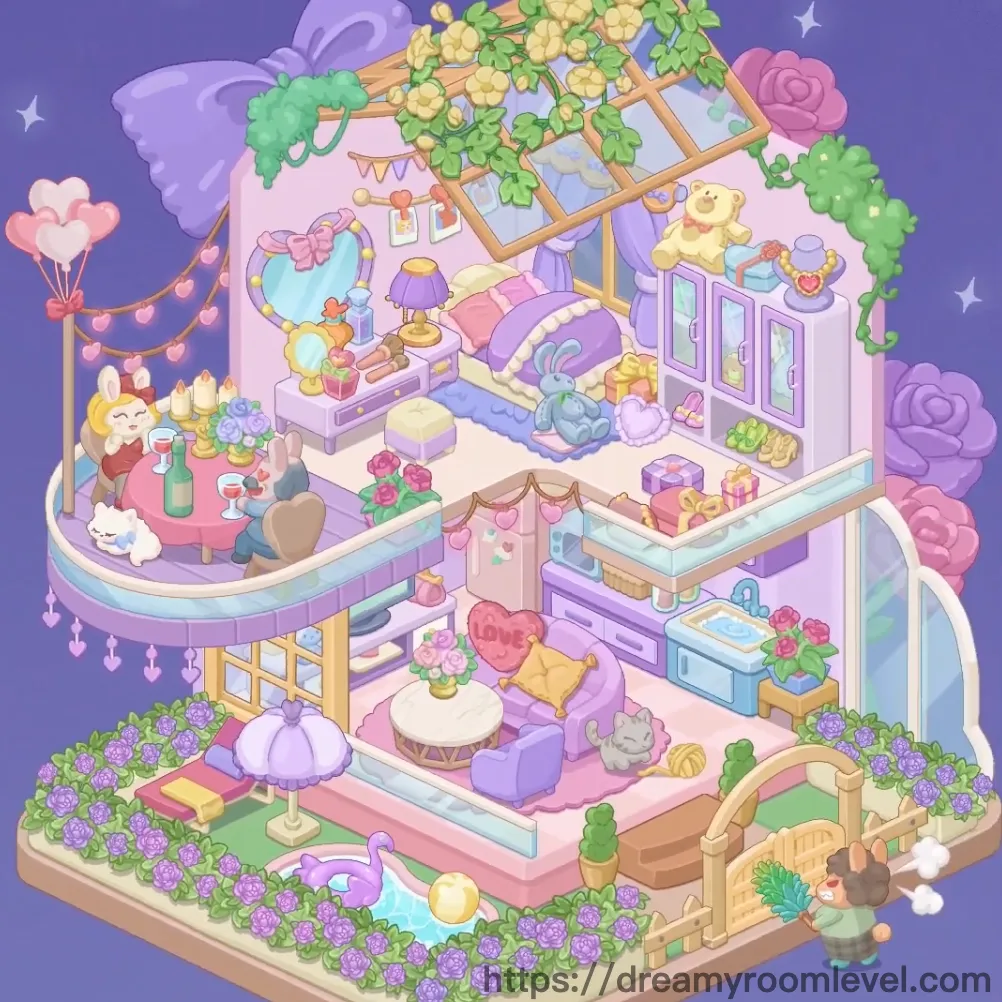
Dreamy Room Level 536
Level 536 guide walkthrough, helping players solve puzzles and explore the wonderful world of Dreamy Room.
Dreamy Room Level 536 Walkthrough Guide
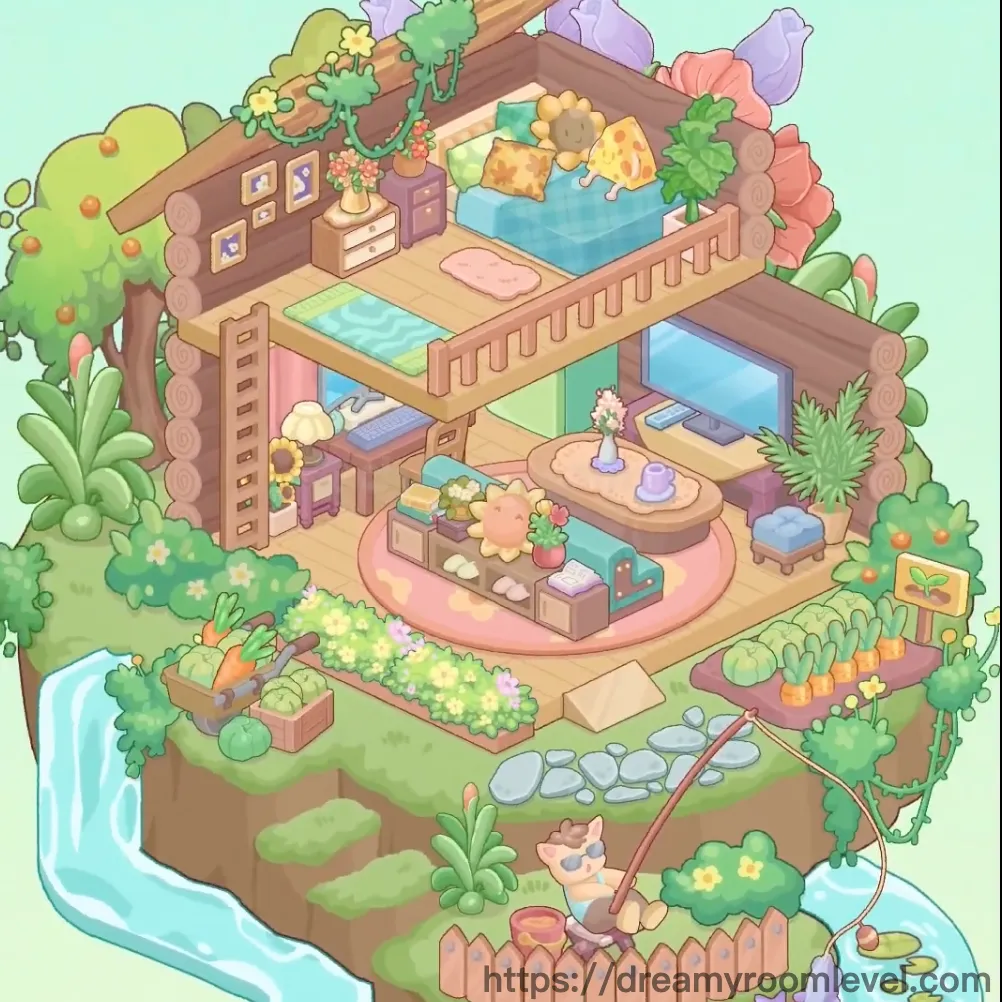
Dreamy Room Level 536 Room Story
A charming multi-level treehouse cottage perched above a peaceful garden paradise, where each floor offers its own cozy sanctuary surrounded by lush greenery and flowing water. The top bedroom nestles beneath flowering vines, the middle study overlooks vegetable patches and fruit trees, while the bottom living room opens to a fishing spot where a patient cat waits by the pond. This Dreamy Room Level 536 retreat blends rustic wooden architecture with vibrant gardens, creating a self-sufficient haven where nature and comfort intertwine perfectly beneath pastel clouds.
Dreamy Room Level 536: Step-by-Step Placement Guide
Step 1. Build Wooden Platform Base and Floor
Position the wooden platform base as the foundation, then lay the beige floor tiles across all floor levels. This multi-tiered structure should establish the three-story layout in Dreamy Room Level 536.
Step 2. Construct Brown Wooden Walls and Beams
Build the brown wooden walls for all three levels, then install the log beam structure, wooden roof beams, support pillars, and wooden ladder structure connecting the floors.
Step 3. Lay Green Grass and Dirt Paths
Spread the green grass ground around the cottage base, then create dirt path areas and the stone stepping path for walkways throughout the garden.
Step 4. Install Waterfall and Water Features in Dreamy Room Level 536
Position the waterfall left side on the left edge, creating the flowing water stream that leads to the pond with lily pads. Add fish in water swimming in the pond.
Step 5. Build Pink Fence Border
Install the pink fence border with fence posts around the bottom perimeter of the property. This charming fence should define the garden boundaries.
Step 6. Set Up Top Floor Bedroom Area
On the top level, position the blue bed large with yellow pillow and green pillow. Lay the pink floor mat bedroom beside the bed in Dreamy Room Level 536.
Step 7. Add Bedroom Furniture and Decorations
Place the purple dresser cabinet in the bedroom, then hang wall photo frames on the walls. Add the potted plant purple pot for greenery.
Step 8. Install Hanging Vines and Flowers
Drape the hanging vine plants ceiling with green leafy vines and flower decorations ceiling from the top floor ceiling. Install the wooden railing top floor along the edge.
Step 9. Set Up Middle Floor Study Area
On the middle level, position the wooden desk with the purple desk chair. Add the desk lamp, books on desk, and sunflower decoration on the desk surface in Dreamy Room Level 536.
Step 10. Add Middle Floor Storage and Bed
Place the blue storage cabinet on the middle floor, then position the mint green bed middle with pink bedding. Add the sheep plush toy on the bed.
Step 11. Create Bottom Floor Living Area
On the bottom level, lay the pink circular platform, then place the wooden coffee table oval in the center. Arrange the purple tea set and flower vase table on the table.
Step 12. Arrange Living Room Seating
Position the blue armchair left and blue armchair right around the coffee table. Place the storage cabinet bottom with decorative items cabinet and potted flowers pink in the living area in Dreamy Room Level 536.
Step 13. Plant Fruit Tree
Position the fruit tree left on the left side of the property with orange fruits tree hanging from branches. Add the green tree foliage for full, lush appearance.
Step 14. Create Vegetable Garden Plot
Set up the vegetable garden plot with wooden garden box. Plant the carrot patch, cabbage plants, and lettuce plants in organized rows.
Step 15. Add Garden Tools and Sign
Place the garden sign board, watering can, and gardening tools near the vegetable garden for a functional farming area in Dreamy Room Level 536.
Step 16. Set Up Fishing Area
Position the cat character fishing at the bottom fishing spot with the fishing rod extended over the water. This peaceful scene should be near the pond area.
Step 17. Add Background Clouds
Set the pink clouds background, purple clouds, and yellow clouds in the sky. These pastel clouds should create a dreamy atmosphere around the cottage.
Step 18. Plant Bushes and Flowers
Scatter green bushes scattered, pink flower bushes, yellow flowers ground, and white flowers ground throughout the garden in Dreamy Room Level 536.
Step 19. Add Climbing Vines and Hanging Baskets
Attach climbing vines walls to the cottage exterior and hang hanging flower baskets from the beams. These should add vertical greenery to the structure.
Step 20. Add Final Decorative Elements
Place decorative rocks and grass tufts throughout the landscape. These finishing touches should complete the natural, lived-in appearance of the garden treehouse cottage in Dreamy Room Level 536.
Tips and Important Notes
Important Notes
- The three-level structure must be built from bottom to top, establishing each floor completely before adding the next level to ensure proper spatial arrangement
- The waterfall and water features should be positioned early, as they define the left boundary and affect placement of nearby elements
- Small items like vegetables in the garden and books on the desk have tiny placement zones; zoom in closely for accurate positioning in Dreamy Room Level 536
- The hanging vines and ceiling decorations require the roof beams to be in place before they can be properly attached
- The cat character should be placed last at the fishing spot to avoid blocking access to other ground-level elements
Useful Tips
- Start with the platform base and structural elements (walls, beams, floors) before adding any furniture or decorations
- Complete each floor level entirely before moving to the next level, working from bottom to top for organized placement
- When arranging the vegetable garden, plant larger items like cabbage first, then fill gaps with smaller vegetables like carrots
- The pink circular platform on the bottom floor serves as a visual anchor; use it to center the living room furniture symmetrically
- If small items like tea set pieces or desk accessories bounce back, try dragging them to the exact center of their intended surface where the snap point is strongest
- Use the wooden beams and support pillars as vertical guides for aligning furniture and decorations across different floors
- Layer the outdoor plants with tall fruit trees in back, medium bushes in middle, and small flowers in front for proper depth perception
- The fence border helps define the property edges; place it early to establish boundaries before adding garden elements in Dreamy Room Level 536