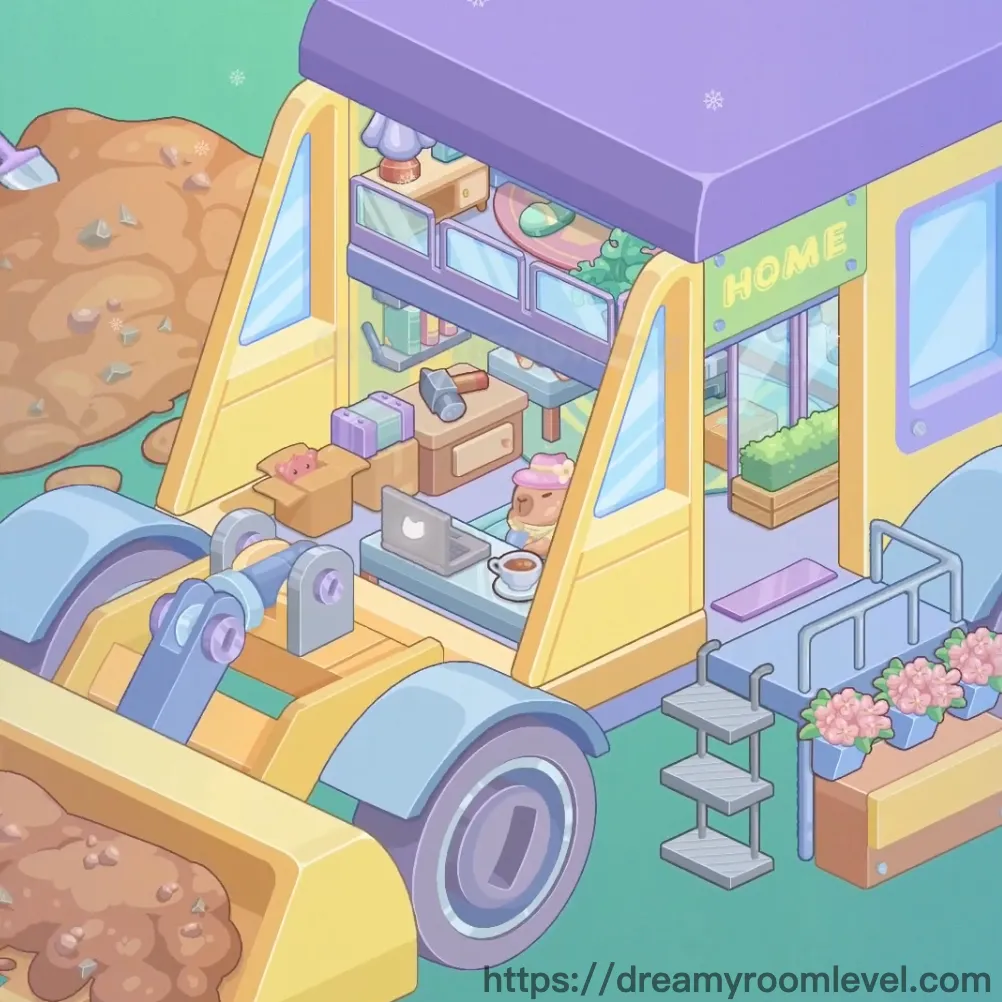
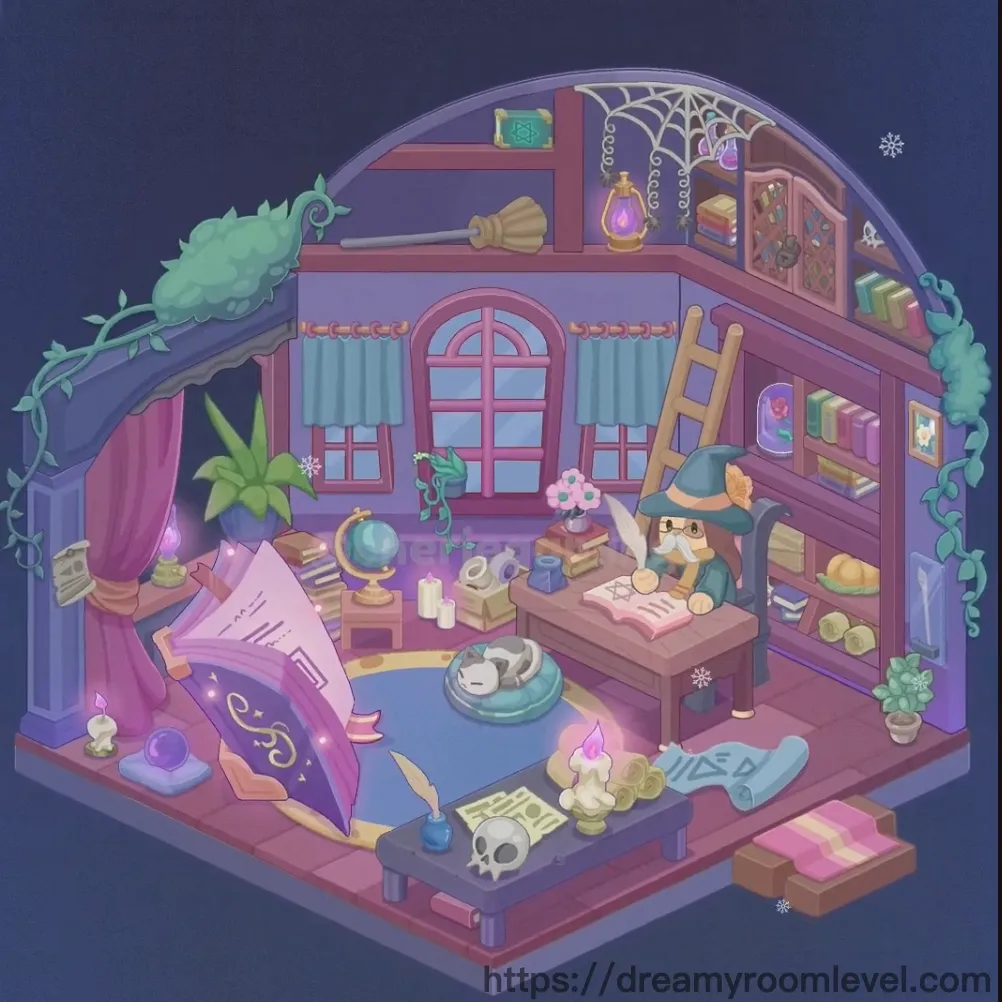
Dreamy Room Level 532
Level 532 guide walkthrough, helping players solve puzzles and explore the wonderful world of Dreamy Room.
Dreamy Room Level 532 Walkthrough Guide
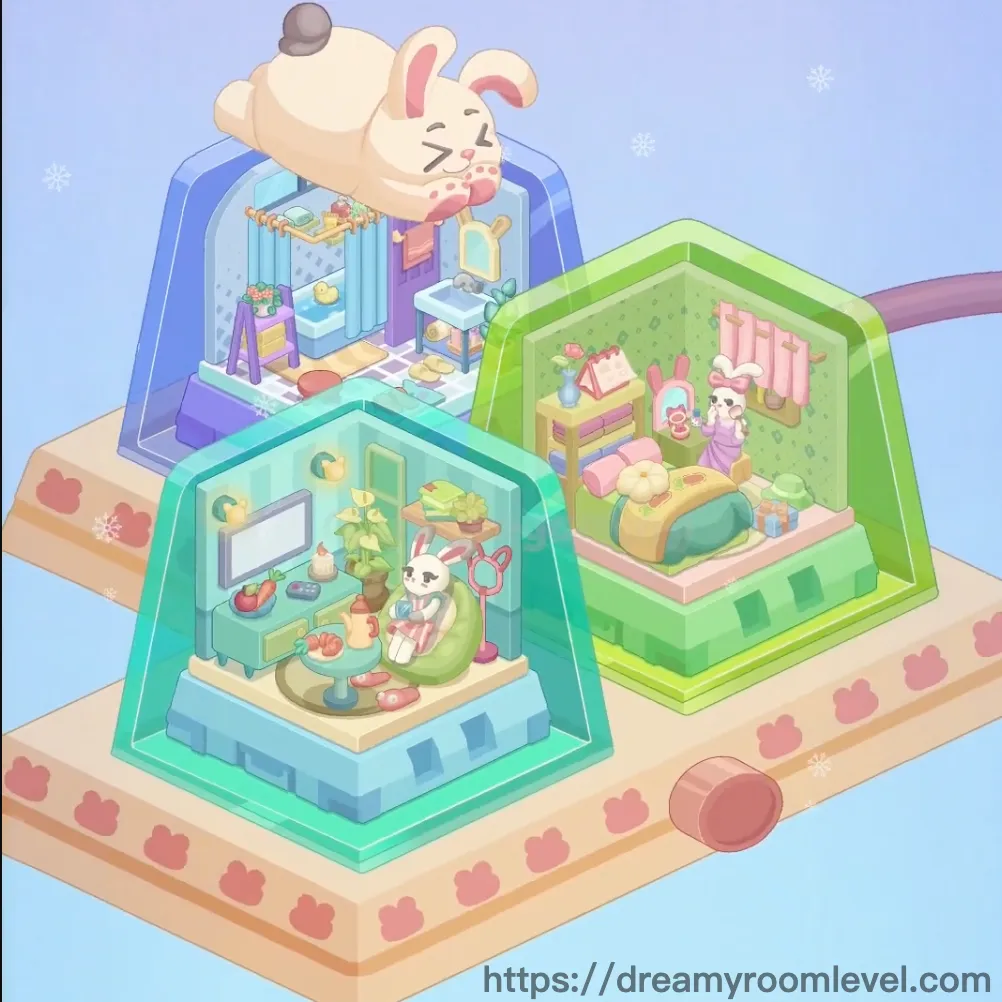
Dreamy Room Level 532 Room Story
Three cozy hexagonal homes nestle together like honeycomb chambers, each a perfect sanctuary for adorable bunny residents. The blue bathroom sparkles with fresh towels and playful rubber ducks, while the cyan living space invites relaxation with its TV corner and veggie-filled dining table. This Dreamy Room Level 532 collection showcases the green bedroom's soft pink bedding and curtained windows, proving that even the smallest spaces can hold the biggest dreams when designed with love and care.
Dreamy Room Level 532: Step-by-Step Placement Guide
Step 1. Build the Beige Platform Base
Position the beige platform base as the foundation for all three hexagonal rooms. This cream-colored rectangular platform should be centered in the space, providing a stable surface for the entire structure.
Step 2. Add Pink Paw Prints Decoration
Arrange the pink paw prints decoration along the edges and surface of the platform base. These adorable pink paw marks should be scattered around the perimeter, adding a playful touch to the foundation in Dreamy Room Level 532.
Step 3. Construct Three Hexagon Room Structures
Place the blue hexagon room structure in the back left position, the cyan hexagon room structure in the front left, and the green hexagon room structure on the right side. These three geometric rooms should be arranged in a cluster formation.
Step 4. Install Room Walls and Floors
Set up the blue room walls, cyan room walls, and green room walls for each hexagonal space. Then lay the blue room floor, cyan room floor, and green room floor. Each room should have its distinct color scheme established in Dreamy Room Level 532.
Step 5. Place Bathroom Bathtub and Sink
In the blue bathroom, position the bathroom bathtub against the back wall, then install the bathroom sink on the left side. The white bathtub should be the focal point, with the sink providing functional washing space.
Step 6. Install Bathroom Mirror and Towel Rack
Mount the bathroom mirror above the sink, then attach the bathroom towel rack on the wall. Hang the purple towel and yellow towel on the rack, creating a colorful and functional bathroom setup.
Step 7. Add Bathroom Shelves and Toiletries in Dreamy Room Level 532
Install the bathroom shelves on the wall, then arrange the toiletries on shelves, soap dispenser, and rubber duck. These items should be organized neatly, adding personality to the bathroom space.
Step 8. Complete Bathroom Details
Lay the bath mat on the floor near the bathtub, hang the shower curtain around the tub, and install the bathroom ceiling light overhead. Place the bathroom bunny character in the room to bring it to life.
Step 9. Set Up Living Room TV Stand and Television
In the cyan living room, position the living room TV stand against the back wall, then place the television screen on top. This entertainment center should be the focal point of the living space in Dreamy Room Level 532.
Step 10. Add Living Room Plants
Position the potted plant left and potted plant right on either side of the TV stand or in corners. These green plants should bring natural freshness to the living area.
Step 11. Arrange Dining Table and Chairs
Place the dining table in the center of the living room, then position dining chair 1 and dining chair 2 around it. This dining setup should create a cozy eating area within the hexagonal space.
Step 12. Decorate Dining Table with Food Items
Arrange the table bowl, fruit bowl, and vegetables on table on the dining surface. These fresh food items should create an inviting mealtime scene in Dreamy Room Level 532.
Step 13. Complete Living Room Details
Lay the living room rug on the floor, hang the wall decorations living room on the walls, and install the ceiling lamp living room overhead. Add the window living room and place the living room bunny character to complete the space.
Step 14. Position Bedroom Large Bed
In the green bedroom, place the bedroom large bed against the back wall. This bed with its wooden headboard should be the centerpiece of the sleeping area.
Step 15. Dress the Bed with Bedding and Pillows in Dreamy Room Level 532
Layer the pink bedding over the bed, then arrange the bed pillows at the headboard. The soft pink covers should create an inviting and comfortable sleeping space.
Step 16. Install Pink Curtains and Window
Hang the pink curtains on the curtain rod, then position the bedroom window behind them. These flowing pink drapes should frame the window beautifully, adding elegance to the bedroom.
Step 17. Add Bedside Table and Lamp
Place the bedside table next to the bed, then position the bedside lamp on top. This setup should provide convenient lighting and surface space beside the sleeping area in Dreamy Room Level 532.
Step 18. Install Wardrobe Closet
Position the wardrobe closet along one of the bedroom walls. This storage unit should provide space for clothing while maintaining the room's cozy aesthetic.
Step 19. Add Bedroom Wall Decorations
Mount the wall shelf bedroom on the wall, then arrange the books on shelf and photo frames on it. Hang the wall decorations bedroom to add personality to the space.
Step 20. Complete Bedroom Floor Details
Lay the bedroom rug on the floor beside the bed, then place the pink cushion floor and decorative basket in appropriate spots. These items should add comfort and organization to the bedroom in Dreamy Room Level 532.
Step 21. Add Bedroom Toys and Character
Place the stuffed bunny toy on the bed or floor, then position the bedroom bunny character in the room. Install the ceiling light bedroom overhead to complete the lighting.
Step 22. Add Final Decorative Elements
Place the yellow box item and pink ball toy on the platform or in rooms. Add the snowflakes decoration floating in the air around the hexagonal homes, creating a magical winter atmosphere for Dreamy Room Level 532.
Tips and Important Notes
Important Notes
- The three hexagonal rooms must be positioned correctly on the platform base before adding any interior furniture to ensure proper spatial arrangement
- Each room has a specific color scheme that must be maintained; avoid mixing furniture between the blue bathroom, cyan living room, and green bedroom
- Small items like toiletries, vegetables, and decorative objects have tiny placement zones; zoom in closely for accurate positioning in Dreamy Room Level 532
- The bunny characters should be placed last in each room to avoid blocking furniture placement
- Wall-mounted items like mirrors, shelves, and decorations require the walls to be fully established before they can be attached
Useful Tips
- Start with the platform base and room structures before adding any interior elements to establish the foundation
- Complete one hexagonal room entirely before moving to the next to avoid confusion and ensure each space is properly furnished
- When arranging symmetrical pairs like plants, chairs, or towels, place one side completely before mirroring to the opposite side for perfect balance
- The hexagonal shape creates unique corner spaces; use these angles strategically for placing smaller decorative items
- If small items like the rubber duck or fruit bowl bounce back, try dragging them to the center of their intended surface where the snap point is strongest
- The color-coded rooms help identify which furniture belongs where; match pink items to the bedroom, blue items to the bathroom, and neutral items to the living room
- Use the paw print decorations on the platform as visual guides for spacing the three hexagonal structures evenly in Dreamy Room Level 532