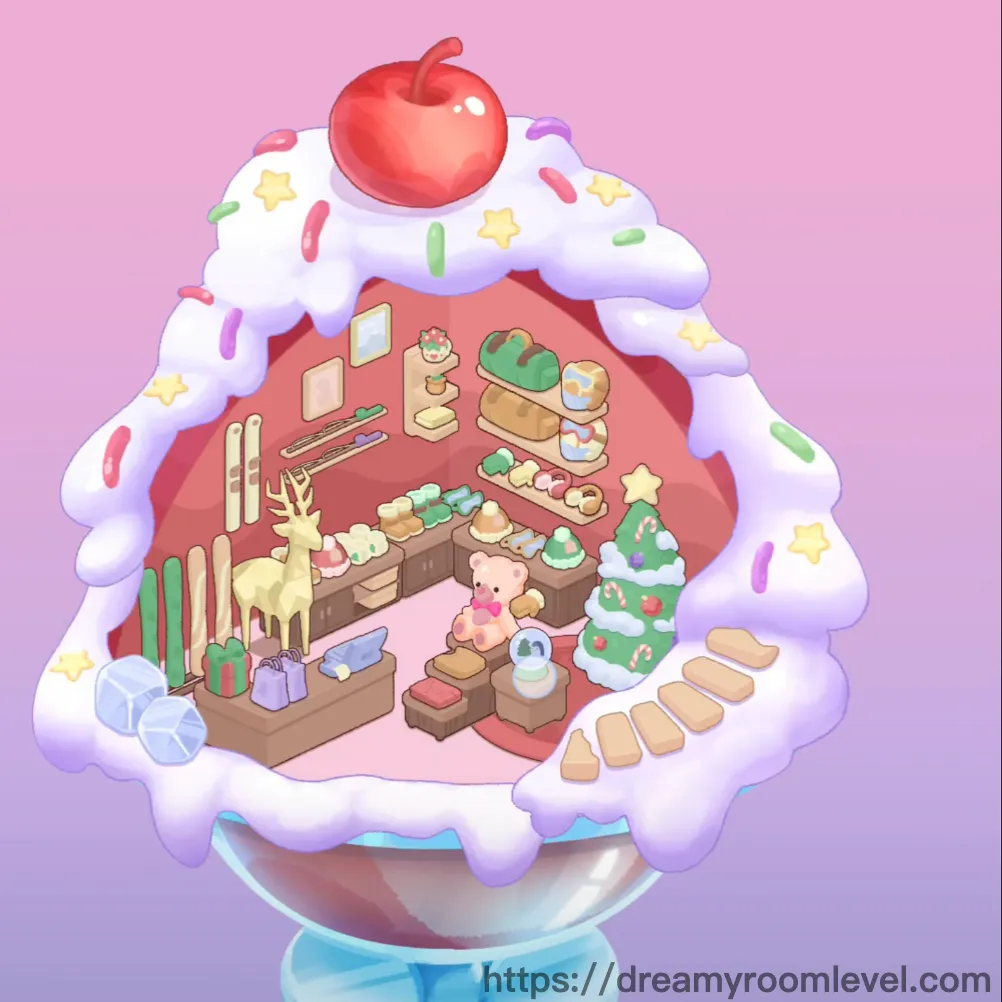
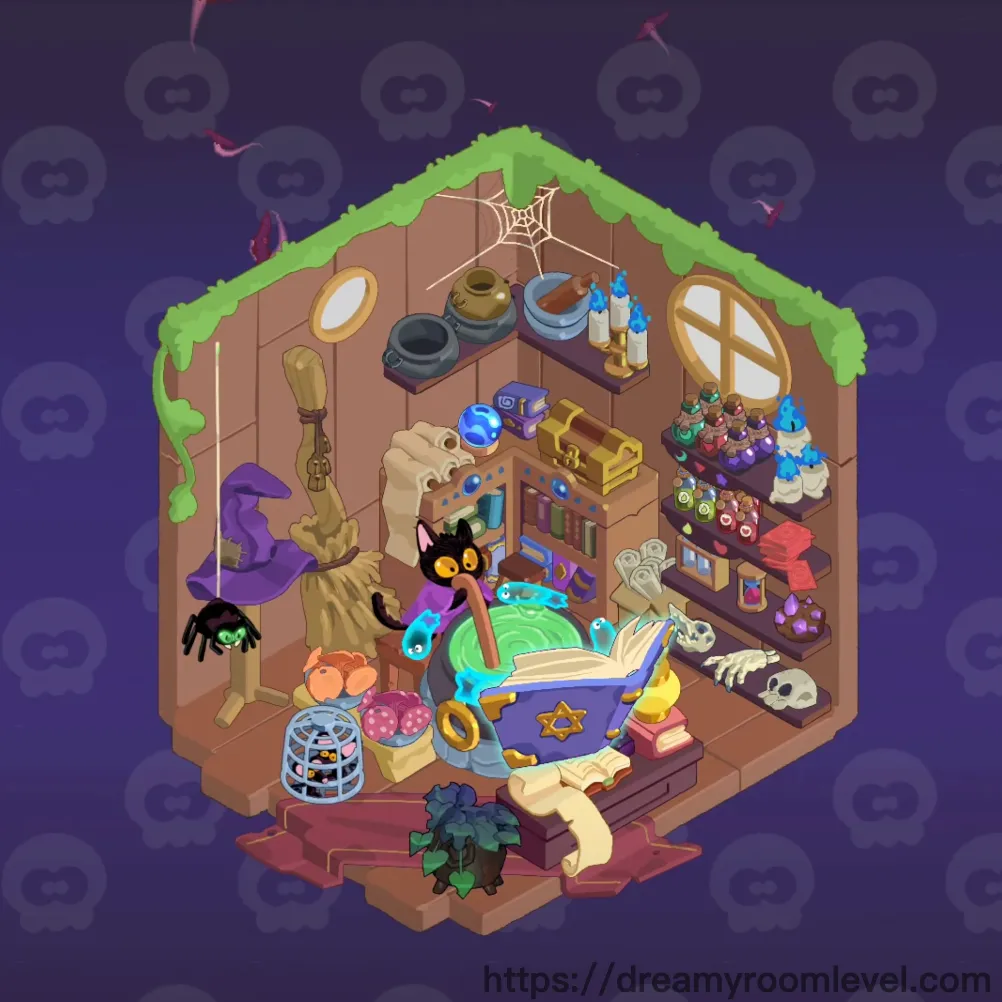
Dreamy Room Level 51
Level 51 guide walkthrough, helping players solve puzzles and explore the wonderful world of Dreamy Room.
Dreamy Room Level 51 Walkthrough Guide
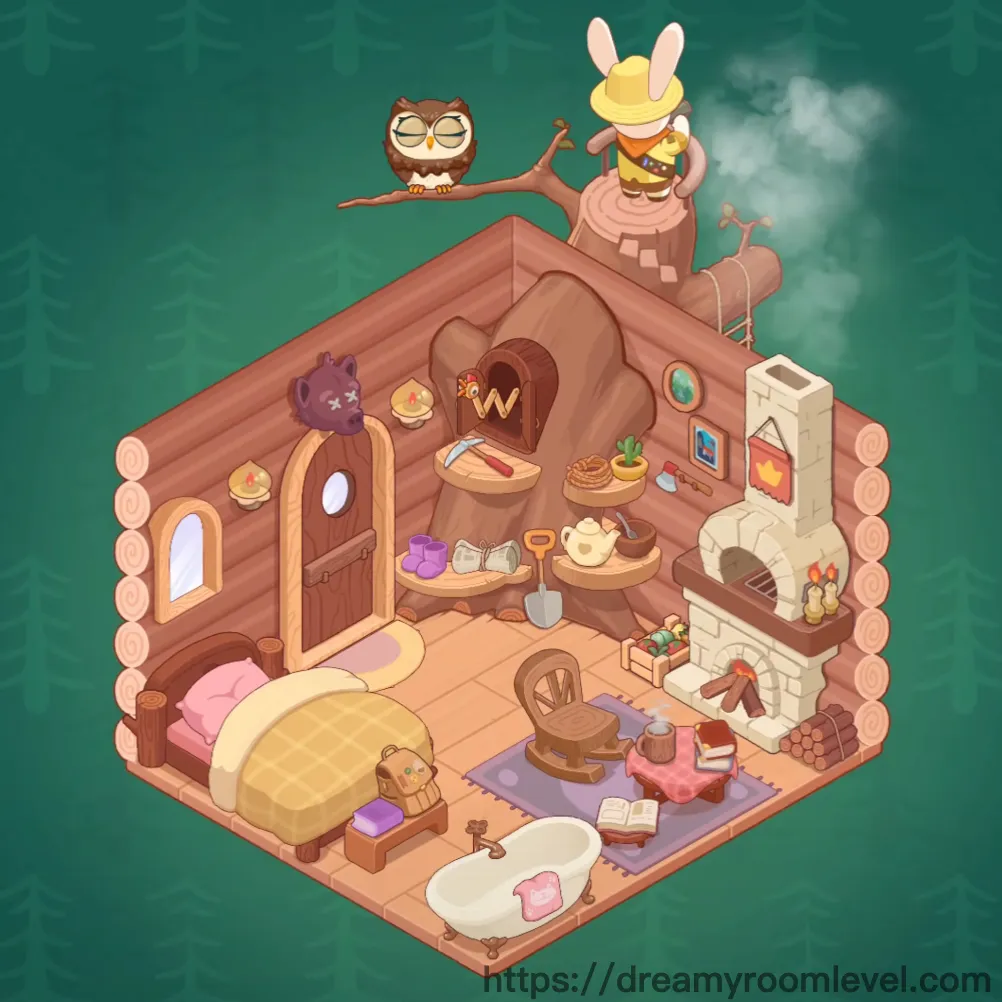
Dreamy Room Level 51 Room Story
In a cozy corner of the enchanted forest, a little bee lives in this charming log cabin. Every evening, the wise owl visits through the window to share stories. The fireplace crackles warmly while the bee prepares honey tea at the wooden tables. Pink pillows and purple flowers add touches of comfort throughout. Dreamy Room Level 51 captures the essence of woodland friendship, where every item tells a story of simple joys and peaceful living in nature's embrace.
Complete Walkthrough Steps
Step 1. Place the Wooden Bed Frame
Position the wooden bed frame against the back wall, centered between the door and window. This foundational piece in Dreamy Room Level 51 should align with the log wall's natural grain pattern.
Step 2. Add the Pink Mattress
Lay the pink mattress directly onto the wooden bed frame. Ensure it fits snugly within the frame's boundaries, creating a comfortable sleeping surface for this cozy cabin.
Step 3. Spread the Yellow Blanket
Drape the yellow blanket across the pink mattress, allowing it to cascade naturally. Following Dreamy Room Level 51 design principles, position it slightly off-center for a lived-in appearance.
Step 4. Set Up the White Fireplace in Dreamy Room Level 51
Install the white fireplace in the right corner of the room. This essential heating element should sit flush against the log walls, with its chimney extending upward through the roof structure.
Step 5. Place the Purple Rug
Lay the purple rug on the tile floor in the center-front area. According to Dreamy Room Level 51 layout requirements, it should create a defined sitting area between the bed and bathtub.
Step 6. Add the Bathtub
Position the bathtub in the lower-left section of the floor. This white ceramic tub should be placed near the front edge, accessible from the purple rug area.
Step 7. Install the Wooden Door in Dreamy Room Level 51
Mount the wooden door in the arched doorway on the left wall. Ensure the door's brown tone complements the log cabin aesthetic and opens inward smoothly.
Step 8. Hang the Arched Window
Install the arched window in the left wall opening, below the door level. The window should fit perfectly within the curved frame, allowing natural light to filter in.
Step 9. Place the First Round Wooden Table
Set the round wooden table on the back-left section of the floor. Completing Dreamy Room Level 51 requires positioning this table near the window for a functional workspace.
Step 10. Add the Second Round Table
Position the second round table adjacent to the first table, creating a connected surface area. These tables should align to form a cohesive dining or work zone in the cabin.
Step 11. Place the Third Round Table
Set up the third round table to complete the table arrangement. This placement in Dreamy Room Level 51 creates a spacious surface for various activities and decorations.
Step 12. Add the Wooden Rocking Chair in Dreamy Room Level 51
Position the wooden rocking chair on the purple rug, facing toward the fireplace. The curved rockers should rest flat on the rug for stability and comfort.
Step 13. Place the Yellow Pillow
Set the yellow pillow on the bed near the upper area. This placement in Dreamy Room Level 51 adds a pop of color and provides comfortable back support.
Step 14. Add the Pink Pillow
Position the pink pillow next to the yellow pillow on the bed. These complementary pillows create a cozy, inviting sleeping arrangement.
Step 15. Set the Teddy Bear Toy
Place the teddy bear toy on the left side of the floor, near the bed's base. This charming companion adds warmth to Dreamy Room Level 51's woodland theme.
Step 16. Add the Purple Bear Plush in Dreamy Room Level 51
Position the purple bear plush on the back wall area, near the door frame. This cuddly decoration complements the cabin's purple accent colors perfectly.
Step 17. Place the Owl
Set the owl on the tree branch extending from the roof. This wise friend should perch naturally, overlooking the entire room in Dreamy Room Level 51.
Step 18. Position the Bee Character
Place the bee character on the opposite side of the tree branch from the owl. This cheerful resident completes the rooftop scene beautifully.
Step 19. Add the Tree Branch in Dreamy Room Level 51
Install the tree branch extending from the roof structure. This natural element should stretch horizontally, providing perches for the woodland creatures above.
Step 20. Hang the Teal Mirror
Mount the teal mirror on the back wall, right of center. Following Dreamy Room Level 51 design, position it at eye level for practical use and decorative appeal.
Step 21. Hang the Blue Picture Frame
Place the blue picture frame on the wall near the teal mirror. This framed artwork adds personality and visual interest to the cabin walls.
Step 22. Install the Orange Flame Painting in Dreamy Room Level 51
Hang the orange flame painting beside the fireplace on the right wall. This warm-toned artwork echoes the fireplace's cozy glow perfectly.
Step 23. Mount the Purple Shelf
Attach the purple shelf to the left wall area. According to Dreamy Room Level 51 requirements, position it at a convenient height for displaying decorative items.
Step 24. Add the Crescent Moon Decoration
Hang the crescent moon decoration on the back wall above the bed. This celestial accent enhances the dreamy, nighttime atmosphere of the cabin.
Step 25. Place the Letter W Decoration in Dreamy Room Level 51
Mount the letter W decoration on the back wall near the door. This personalized touch adds character and makes the space feel truly lived-in.
Step 26. Add the Banana Decoration
Position the banana decoration on the upper-right wall area. This whimsical accent in Dreamy Room Level 51 adds a playful touch to the woodland theme.
Step 27. Place the Rope Decoration
Hang the rope decoration from the roof structure near the tree branch. This rustic element reinforces the cabin's natural, outdoor-inspired aesthetic.
Step 28. Set the Yellow Flower Pot in Dreamy Room Level 51
Place the yellow flower pot on one of the round wooden tables. This bright container brings life and color to the table arrangement.
Step 29. Add the Cactus Plant
Set the cactus plant on the tables near the yellow flower pot. Completing Dreamy Room Level 51 requires this low-maintenance greenery for natural ambiance.
Step 30. Place the Purple Flowers
Position the purple flowers on the purple shelf mounted on the wall. These blooms add vibrant color and natural beauty to the vertical space.
Step 31. Add Books to the Tables
Arrange the books on the round wooden tables in an organized manner. Stack them neatly to create a scholarly, lived-in appearance in Dreamy Room Level 51.
Step 32. Place Books on Floor in Dreamy Room Level 51
Set the books on floor near the purple rug area. These casually placed books suggest recent reading and add to the cozy, informal atmosphere.
Step 33. Add the Open Book
Place the open book on the purple rug or near the rocking chair. This detail in Dreamy Room Level 51 suggests an interrupted reading session.
Step 34. Position the Wooden Barrel
Set the wooden barrel near the tables on the back wall. This storage container adds rustic charm and practical storage to the cabin space.
Step 35. Place the Wooden Crate in Dreamy Room Level 51
Position the wooden crate in the lower-right corner near the fireplace. This storage piece complements the cabin's natural wood aesthetic perfectly.
Step 36. Add Wooden Crate Boxes
Stack the wooden crate boxes beside the fireplace structure. Following Dreamy Room Level 51 design, these provide additional storage and rustic decoration.
Step 37. Place the Teapot
Set the teapot on one of the round wooden tables. This essential item suggests tea-time rituals and adds to the homey atmosphere.
Step 38. Add the Mug in Dreamy Room Level 51
Position the mug near the teapot on the table surface. This companion piece completes the tea service arrangement beautifully.
Step 39. Place the Candle
Set the candle on the table area for ambient lighting. According to Dreamy Room Level 51 layout, this provides a warm glow for evening activities.
Step 40. Add the Candle Holder
Position the candle-holder on the purple shelf or table. This decorative piece adds elegance and functionality to the cabin's lighting scheme.
Step 41. Place the Duck Toy in Dreamy Room Level 51
Set the duck toy near the bathtub area. This playful addition suggests bathtime fun and adds whimsy to Dreamy Room Level 51.
Step 42. Add the Pink Soap
Place the pink soap on the edge of the bathtub. This practical toiletry completes the bathroom functionality with a sweet color accent.
Step 43. Position the White Ball
Place the white ball on the floor near the purple rug area. This simple toy adds playfulness to the cabin's lived-in atmosphere.
Step 44. Set the Pink Checkered Cushion in Dreamy Room Level 51
Position the pink checkered cushion on the rocking chair. This comfortable addition makes the seating area more inviting and cozy.
Step 45. Place the Shovel
Position the shovel near the fireplace or in a corner. This practical tool in Dreamy Room Level 51 suggests outdoor activities and garden work.
Step 46. Add the Firewood Logs
Stack the firewood logs beside the fireplace on the floor. These essential fuel pieces ensure the cabin stays warm and cozy.
Step 47. Create Chimney Smoke in Dreamy Room Level 51
Add the chimney smoke effect rising from the fireplace chimney. This atmospheric detail brings life to the scene and suggests a warm fire burning inside.
Step 48. Install the Tile Floor
Lay the tile floor across the entire room base. This foundational element in Dreamy Room Level 51 provides a clean, organized surface for all furnishings.
Step 49. Complete the Log Cabin Walls
Ensure all log cabin walls are properly textured and positioned. These characteristic walls define the woodland aesthetic and complete your Dreamy Room Level 51 masterpiece.
Tips and Tricks
Common Mistakes
- Hidden placement spots behind the fireplace structure can obscure small items like the candle holder or purple flowers - zoom in to locate these precisely
- The overlapping table arrangement requires placing the first table before adding subsequent ones to avoid placement conflicts
- Similar brown items like wooden crates and barrels can be confused - check item icons carefully before dragging
- The tree branch must be placed before the owl and bee characters, as they perch on this structure
- Bathroom items near the tub's curved edge require precise alignment to prevent them from bouncing back to inventory
Pro Strategies
- Start with large structural elements like the bed frame and fireplace to establish the room layout before adding smaller decorative pieces
- When placing items on tables, drag from above and lower slowly to trigger the snap-to-surface mechanism for stable placement
- For clustered areas like the table arrangements, place items from back to front to avoid accidentally selecting wrong objects
- The purple rug's edges provide excellent visual guides for centering floor items like the rocking chair and toys
- Utilize the "magnetic" zones around furniture edges in Dreamy Room Level 51 - items will subtly pull toward correct positions when dragged nearby
- For wall-mounted decorations, align them with existing items rather than empty wall space for more balanced visual composition
- Complete Dreamy Room Level 51 efficiently by grouping similar items together - place all books at once, all toys consecutively, and all table items in one sequence